Sonntag, 20. Juli 2014

in between, deck beams.


Deck beams were bent-laminated out of spruce, 3.5 cm wide, sawn to 5mm thick strips.


Made a few more than required...
Planing them to the right thickness 


Samstag, 19. Juli 2014

Boiling lead...


Time to make the centerboard. The student-time coop-tested cooker served perfectly for melting 4 kg of lead to be filled into the routed-out opening in the 20mm Mahogani plywood centerboard. The gas-torch helped as well.

Thanks Tim Crawford for the idea with the opening and the nails to hold the lead in place.

Nails to fix the lead

4 course meals were made on that thing...


Some Cherry leftovers to cover the lead. Was glassed and will be painted anyway...

Samstag, 12. Juli 2014

Skeg and Centerboard-case

Making the skeg was next - as for the bottom, I went for ash.

Quarter-sawn pieces of ash glued together

Glued to the hull with epoxy with microballoons
And I also made the sides of the centerboard-case (box?). 12 mm Okume marine plywood with a layer of WRC leftover strips - better than throwing them away and a nice finish as I find. Already covered in 2 layers of epoxy without glass on the outside. Inside has been glassed with 3 layers of epoxy.

Recycling the leftovers from planking...


Sonntag, 6. Juli 2014

Glassing the outside


Laminated a pair of jeans some time ago...

I was quite nervous about the glassing. I did glass one or two model boats when I was I teenager, and that was some time ago, involved polyester and a lot of sanding afterwards. not really the best memories - except for that pair of old jeans I soaked in leftover resin - you could just put them standing upright anywhere you wanted, quite funny piece...

after consulting a number of descriptions on the web, I decided to do it the more secure amateur way and apply one layer of pure epoxy before actually laminated. the chemical bond is a bit less with this method, but the risk of the wood taking too much of the resin thus leaving some of the glass fabric without epoxy etc. is significantly reduced.

Hull with first layer of epoxy, without glass. Before the fiberglass layer was applied, the whole hull was sanded with 120 grit again.

Cloth of Fiberglass, 160g / sqm
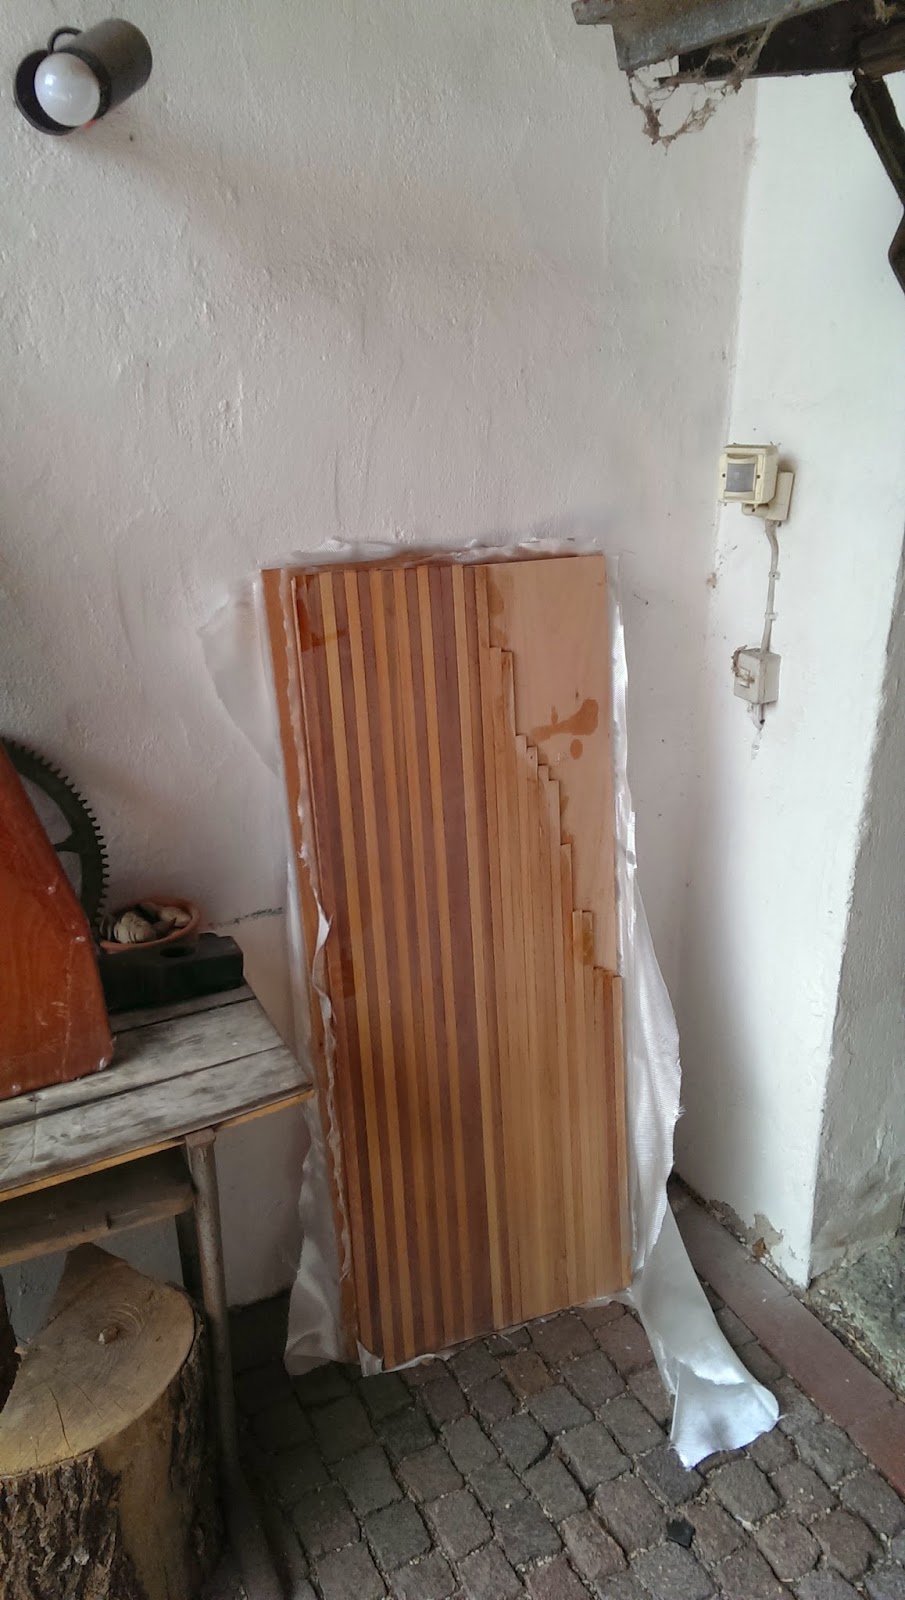
Result after a Friday to Saturday night (6 PM to 4 AM). I took the "only laminate with falling temperatures to avoid bubbles" very seriously... In total three layers of epoxy on the layer of fibreglass...

not documented is the biggest screw-up so far: Mixed 1 portion of Epoxy - must have been around 3 AM - with only 1/2 the required amount of hardener. Not very nice to to remove half-cured epoxy the next day with a metal spatula, lesson definitely learned. Thanks god it was the final layer, so the cloth was nicely sealed still.

Samstag, 5. Juli 2014

Sanding #1 out of ??

not really news, a lot of sanding is required, yai! However it turned out less intensive than I thought it would be - for me best worked starting with a belt sander in something like 45 degrees to the planking to get the rough differences smoothed out.

It helped to have some experience, as the belt sander in combination with the very soft Western Red Cedar is likely to create damage that cannot be repaired if one is not careful. The most important - never stop moving the belt sander... a Festool Orbit sander starting with 120 did the rest, followed by quite a bit of manual sanding with a flexible long board I made out of 4 mm plywood and 120 grit sandpaper glued to it. 1 day for the entire hull seemed acceptable...


especially for the transition bottom to planking, the belt sander (after initial bevelling with the handplane) turned out to be pretty efficient